How to Install HydroBlox
Simple, Fast, and Efficient Drainage Installation
Installing HydroBlox is quicker and easier than traditional drainage systems. There’s no need for pipes, fittings, gravel, or geotextile fabric. With just one material and a straightforward process, HydroBlox reduces labor time while delivering long-term, effective drainage solutions.
Step-by-Step Installation Guide
Step 1:
Plan Your Drainage Layout
Start by determining the design layout based on your specific drainage goals. Mark the layout with marking paint or chalk to guide your trenching. If you need assistance, Drainage Technology Solutions can help design the most effective system for your property.
Step 2:
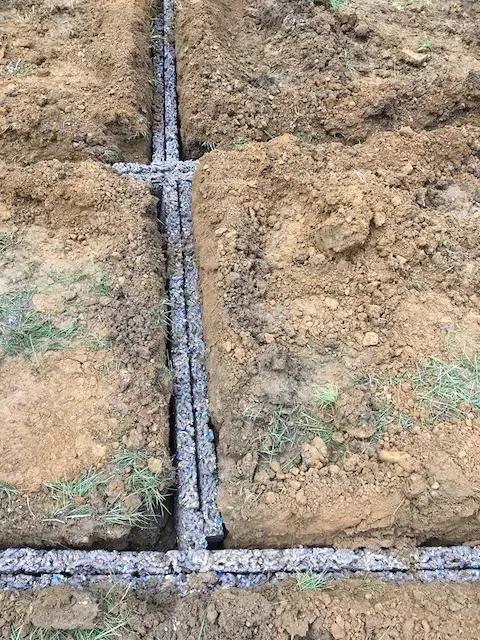
Dig the Trench
Dig a trench wide enough to fit the HydroBlox boards vertically. For level installations, make sure there is at least 3 inches of backfill cover above the boards using good-quality soil or sand. If your system includes a slope, aim for a 2% drop (2.5 inches per 10 feet), and the 3-inch cover rule does not apply.
Step 3:
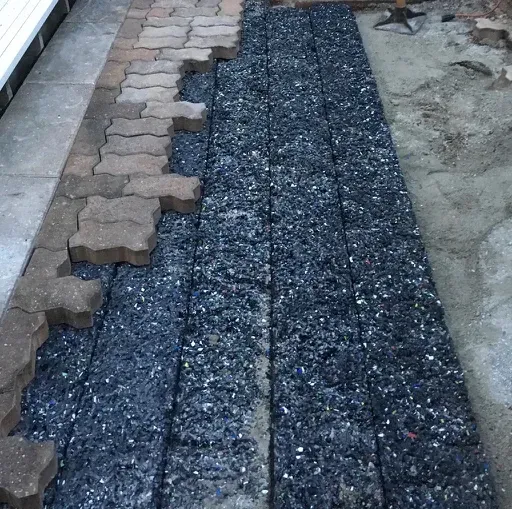
Install the HydroBlox Boards
Slide the HydroBlox boards into the trench vertically, as this orientation works best for most applications. “Butt” the planks together firmly to allow water to flow smoothly from one board to the next. Some installers may overlap the ends or secure them with screws, but this is optional.
Step 4:
Backfill the Trench
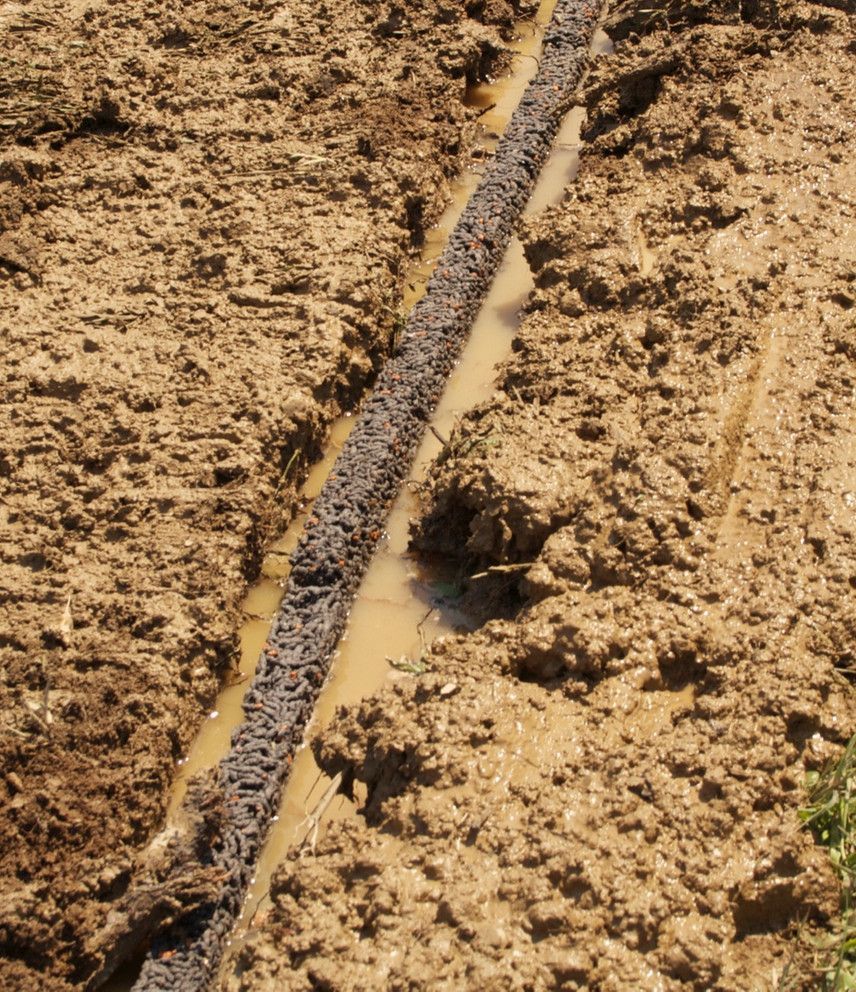
Backfill around the boards with soil that absorbs water well, like sandy or loamy soil. Avoid using clay, gravel, or stones, as these materials block water from reaching the boards. Once filled, tamp down the soil on the sides and top to prevent settling over time.
Special Applications: Curtain Drains & Bank Stabilization
HydroBlox isn’t just for simple drainage runs. It’s also ideal for bank stabilization and erosion control due to its lightweight yet high-strength structure.
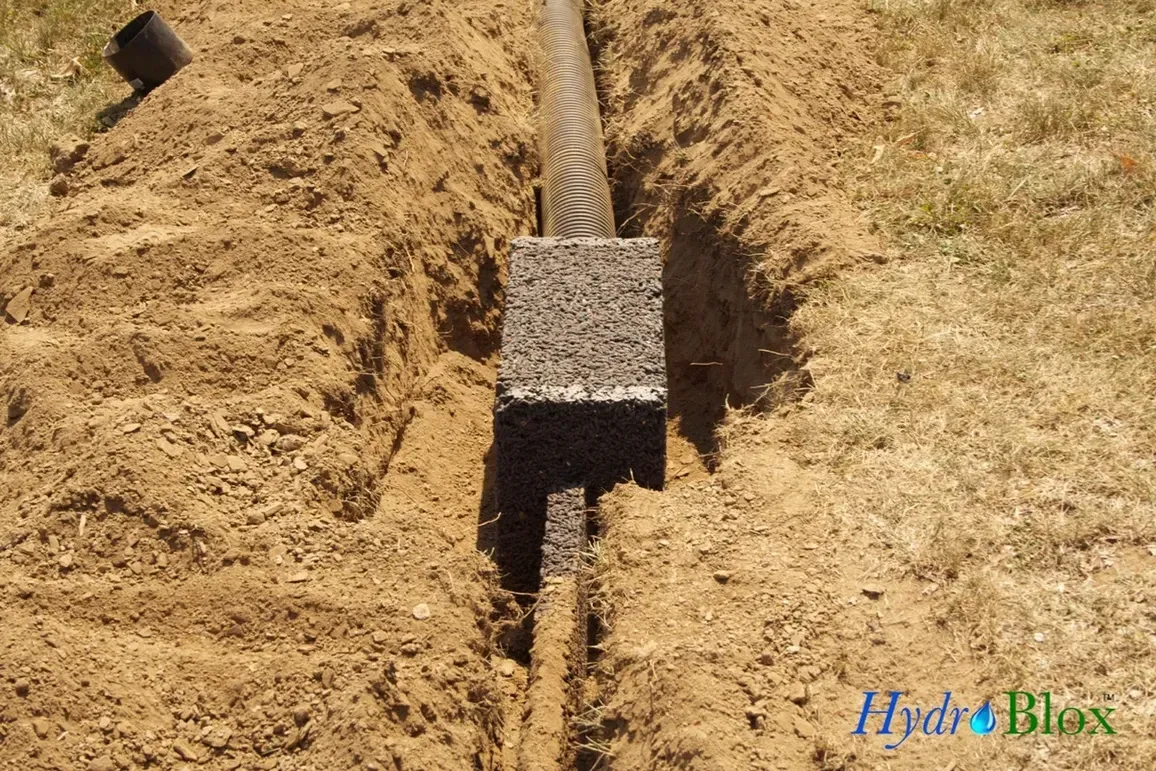
HydroBlox Curtain Drains
When you need to capture and drain water over a large vertical area, consider installing a HydroBlox curtain drain. These are perfect for hillsides, retaining walls, or deep drainage applications.
- How to Build a Curtain Drain:
- Stack HydroBlox boards on top of each other to the desired height or depth.
- Alternatively, orient the boards on end to cover large surface areas quickly.
- Each board is 7.5 feet long, allowing for rapid installation and large coverage.
- Why Choose Curtain Drains:
- 75% lighter than gravel, HydroBlox curtain drains are much easier to install in deep or hard-to-reach areas.
- Reduces the need for heavy equipment, making the process faster and more cost-effective.
Bank Stabilization with HydroBlox
For hillsides, slopes, and embankments, HydroBlox provides structural support and effective water management.
Its durability and resistance to clogging make it the perfect choice for stabilizing steep areas and preventing erosion.
Why HydroBlox Is the Best Choice for Installation
HydroBlox is more than just a drainage system—it’s a smarter, stronger, and greener solution.
No Need for Multiple Materials
Traditional drainage systems require pipes, fittings, gravel, and filter fabrics. HydroBlox eliminates all of that—one material does it all.
Faster Installation
Less digging, fewer materials, and easier handling mean projects are completed in less time.
Lightweight & Durable
HydroBlox boards are light to carry but strong enough to last for decades.
Minimal Maintenance
Once installed, HydroBlox provides reliable drainage without clogs or ongoing maintenance.
Need Help with Installation?
Whether you’re installing HydroBlox for residential drainage, hillside stabilization, or large-scale commercial projects, Drainage Technology Solutions can help. Our team offers expert guidance, design support, and professional installation to make sure your project is successful.
Contact Us Today
To learn more about how HydroBlox can solve your drainage problems—quickly, efficiently, and with long-lasting results.